Tuesday, June 25, 2013

Step 4: Those damn curves!

The next stumped me for a couple of days.

I needed to make the front and back faces of the caravan.  These are round wooden walls, where the edge defines the overall curve required by the banding, as well as the height and width of the caravan.
I needed 6'6" of headroom, as well as peak width for 'headroom' in the bedroom.  I also don't want to reach 80" wide (DoT rules change at 80" wide) and keep the whole thing within a somewhat arbitrary height limit.
I ended up with a total of 78" wide and exactly 8' high (including trailer height etc).

I should have sucked it up, spent some cash and made a large round table as a template for the faces.  I didn't.  Instead I made a temporary framework around which I could bend some wood strips and measured my curves from that, building the walls plank by painful plank.

I ended up avoiding making a bunch of waste wood my way but it's not worth it.

Here's some pics of that process:


Step 3: a little diversion


Some crappy weather led to some indoor playtime, so I played around with some salvaged wood and glue.  I had just received my new pony pipe clamps to, so what better than to bend some wood!

I had an idea that I could laminate all the curves in the caravan to make them stronger, and started building some wooden arches.  These are laminated out of scrap pine, and some mahogany decking salvaged from an old boat project.  They were milled down to about 1/8" of an inch and glued together in a (roughly cut) jig.


Finished product.  Since the template jig was cut using a jigsaw the cut isn't quite vertical so the laminate is a bit twisted.  Cutting on a band-saw would be better.  I don't have one sadly :(


Step 2: The foundation

I had some kind of strange idea about the caravan itself being detachable from the trailer.  It is, but it wouldn't really make sense to do so, unless maybe the trailer needed an upgrade or something.

Still the thing is designed to be self supporting, and just bolted down onto the trailer.  It starts with a 4'x8' sheet of exterior grade plywood, painted with an exterior grade epoxy paint.

Painted, notched to accommodate the trailer bolts (I wouldn't do that again, I'd have the trailer welded together and leave the floor intact).


I made the runners out of 2x10s with braces to keep it square.  These are glued as well as lag bolted together.  They are 10' long, 2' longer than the trailer, and the extra two feet hangs out the back.


The runners are then thru-bolted through the floor and onto the trailer itself.  I couldn't find bolts long enough so I used 3/8" stainless steel threaded rod (12" long) and bolted with lock washers on both sides.


Step 1: the trailer

This is a trailer from Harbor Freight Tools.

It's their biggest, as far as I can see.  It's a 4'x8', non folding, two wheeled trailer, rated at 1720lbs. At $350 it's a third of my budget!

http://www.harborfreight.com/automotive-motorcycle/trailer-accessories/1720-lb-capacity-super-duty-48-inch-x-96-inch-utility-trailer-with-12-inch-five-lug-wheels-and-tires-94564.html

Somewhat redundantly: it's worth reading the instructions fully, and making sure you clearly understand which bits are which - the side bars look very similar but need to be in the correct positions for everything to work properly.  I built this trailer three times.

It's definitely a good idea to repack the bearings.  These come only marginally greased.  It's messy and fun:


..but first!

This project spurred me to do something I had put off for years: clean the garage.

It is a big, two-bay garage, that was filled to the brim with 'project' stuff, and largely useless.  During winter we could just about stack everything up so a single car could be parked in there, but we rarely did anyway.

It all had to go.  Luckily we had a great, dry weather spell so everything was unloaded into the driveway, sorted and thrown away.  Well most of it.  OK, fine, some of it.  But at least I knew where (and what) everything was now.


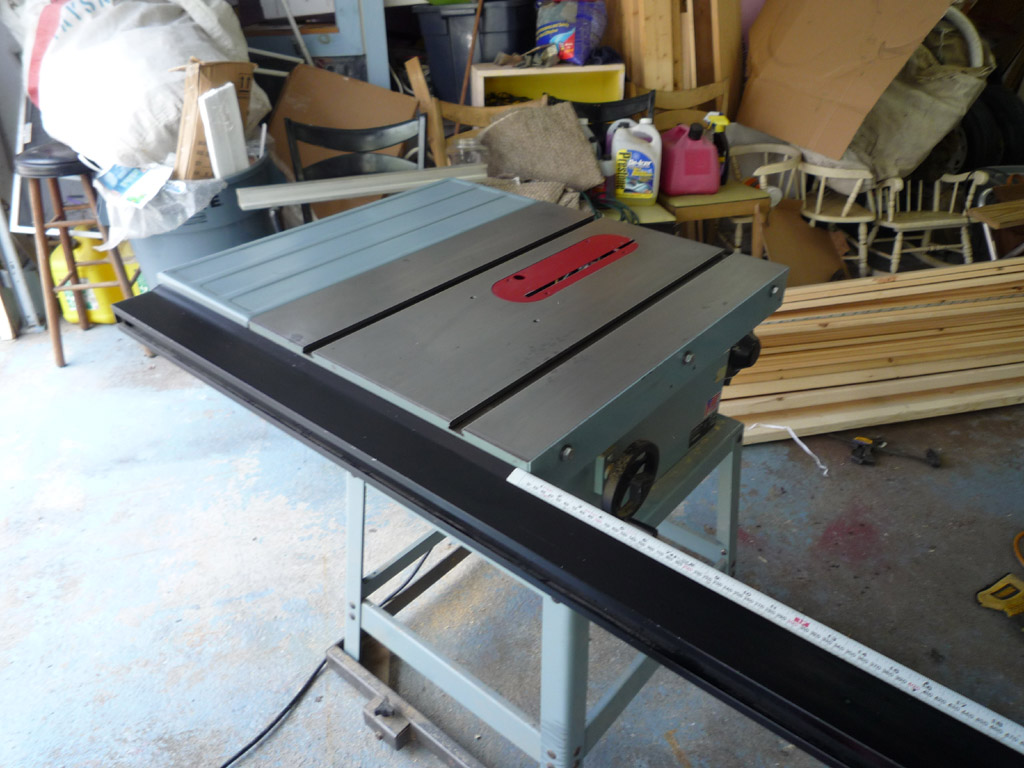
Then I borrowed a table-saw from a trusting friend and gave it some worthwhile upgrades:

First a surface polish, and a paddle switch upgrade:


This is a upgraded belt - probably the most worthwhile upgrade - it significantly improved the stability of the saw (yes it now passes the nickle test) which makes it much safer.  I was determined to use a lot of recycled wood in this project and spent a lot of time milling and refacing old lumber.  These upgrades made that bearable.

I also upgraded the dust management by hooking it up to my shopvac and linking it together with this nifty switch that'll automatically turn on the vacuum shortly after the table saw comes on.

Finally, a clean workshop!


Inception...

The idea for all this came about, as do all good ones, whilst slightly drunk, sitting around a campfire some late winter night.
I saw a picture of a caravan interior on a smartphone that looked ridiculously cozy and proclaimed "I could build that! - and for a thousand dollars and in a month!" or something to that effect.

And.. since I had a month (or two) off, and lots of better things to do, I decided to try.

This was the inspiration image:


from this website
http://www.gregsgypsybowtops.co.uk/

His caravans are awesome! but.. not in the '$1000 and a spare month' kind of category.

My initial plan was to build a bowtop caravan on a 4'x8' trailer, with the costs roughly spread evenly between the trailer itself, the wood, and 'other' materials, including paint, fabric, covering tarp etc.

My current gross estimate cost is around $1500 of actual material costs.  Some of the overrun could have been avoided, as it was caused by experimentation gone wrong.  Not bad for a DIY caravan!